Note
Access to this page requires authorization. You can try signing in or changing directories.
Access to this page requires authorization. You can try changing directories.
This article outlines the steps to create an Azure Date Lake Storage Gen2 connection for pipelines and Dataflow Gen2 in Microsoft Fabric.
Supported authentication types
The Azure Date Lake Storage Gen2 connector supports the following authentication types for copy and Dataflow Gen2 respectively.
| Authentication type | Copy | Dataflow Gen2 |
|---|---|---|
| Account key | √ | √ |
| Organizational account | √ | √ |
| Service Principal | √ | |
| Shared Access Signature (SAS) | √ | √ |
| Workspace Identity | √ | √ |
Set up your connection for Dataflow Gen2
You can connect Dataflow Gen2 to Azure Data Lake Storage Gen2 in Microsoft Fabric using Power Query connectors. Follow these steps to create your connection:
- Check capabilities, limitations, and considerations to make sure your scenario is supported.
- Complete prerequisites for Azure Data Lake Storage Gen2.
- Go to Get data.
- Connect to Azure Data Lake Storage Gen2.
Capabilities
- Import
- File System View
- CDM Folder View
Prerequisites
An Azure subscription. Go to Get Azure free trial.
A storage account that has a hierarchical namespace. To create one, follow the instructions at Create a storage account. This article assumes that you created a storage account named
myadlsg2.Ensure you're granted one of the following roles for the storage account: Blob Data Reader, Blob Data Contributor, or Blob Data Owner.
A sample data file named
Drivers.txtlocated in your storage account. You can download this sample from Azure Data Lake Git Repository, and then upload that file to your storage account.
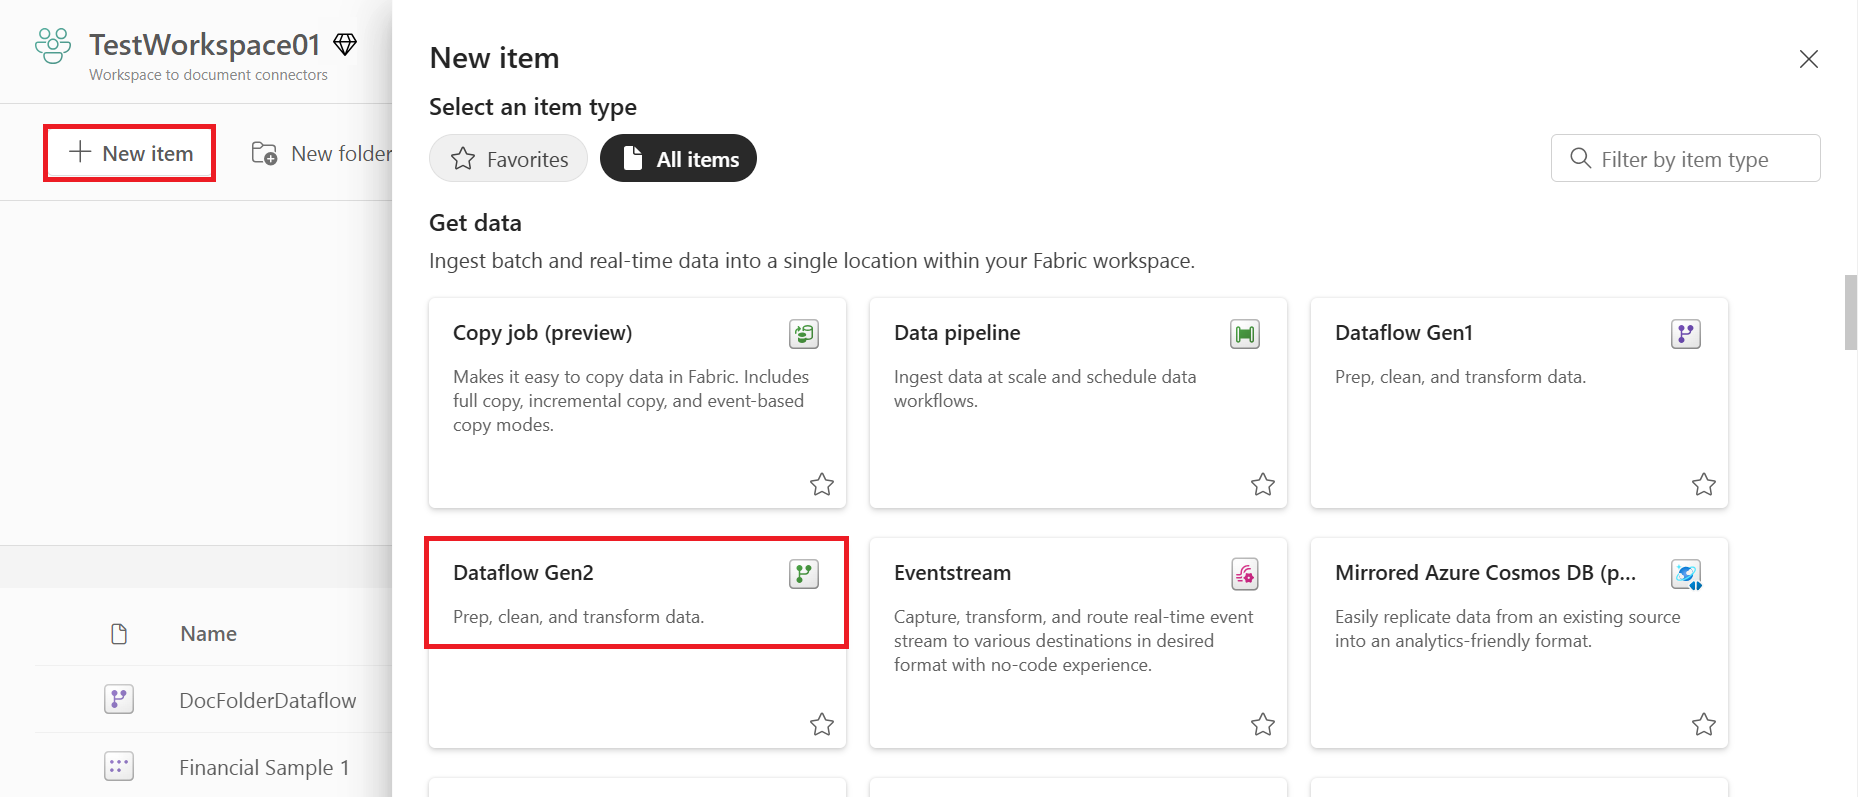
Get data
To get data in Data Factory:
On the left side of Data Factory, select Workspaces.
From your Data Factory workspace, select New > Dataflow Gen2 to create a new dataflow.
In Power Query, either select Get data in the ribbon or select Get data from another source in the current view.

In the Choose data source page, use Search to search for the name of the connector, or select View more on the right hand side the connector to see a list of all the connectors available in Power BI service.
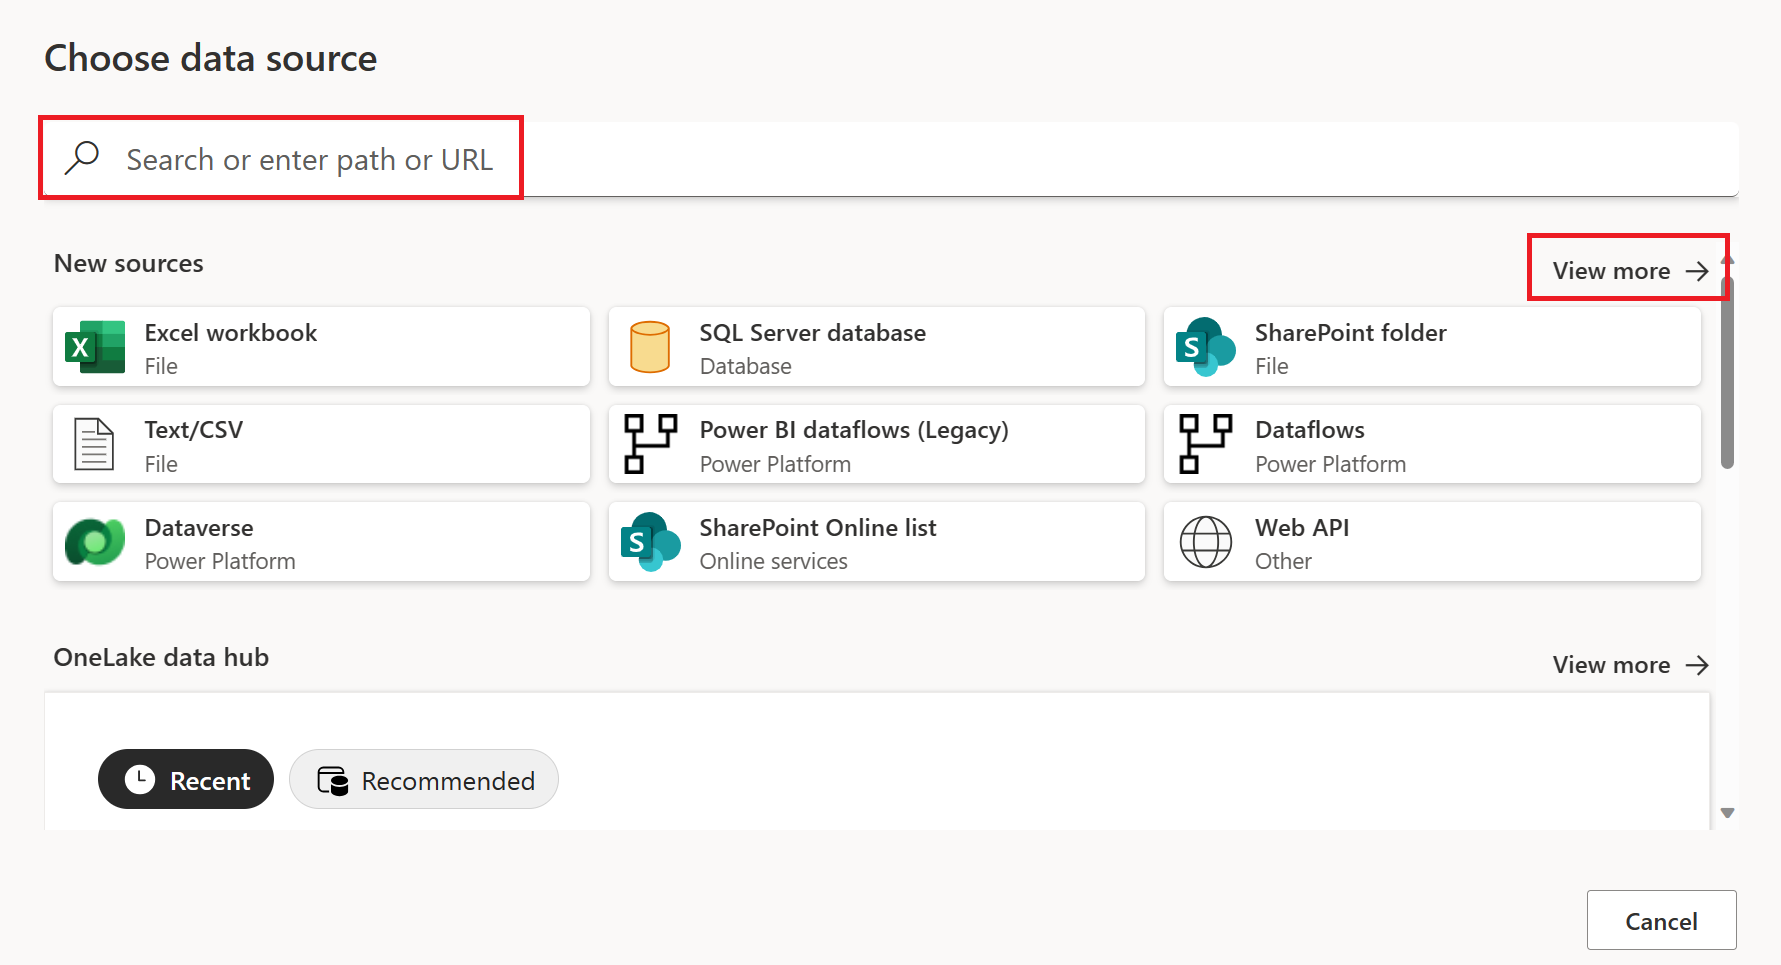
If you choose to view more connectors, you can still use Search to search for the name of the connector, or choose a category to see a list of connectors associated with that category.


Connect to Azure Data Lake Storage Gen2
Select the Azure Data Lake Storage Gen2 option in the get data experience. Different apps have different ways of getting to the Power Query Online get data experience. For more information about how to get to the Power Query Online get data experience from your app, go to Where to get data.

In Connect to data source, enter the URL to your Azure Data Lake Storage Gen2 account. Refer to limitations and considersations to determine the URL to use.

Select whether you want to use the file system view or the Common Data Model folder view.
If needed, select the on-premises data gateway in Data gateway.
Select Sign in to sign into the Azure Data Lake Storage Gen2 account. You're redirected to your organization's sign-in page. Follow the prompts to sign in to the account.
After you successfully sign in, select Next.
The Choose data page shows all files under the URL you provided. Verify the information and then select Transform Data to transform the data in Power Query.


Limitations and considerations
- Connections for trusted workspace access only work in OneLake shortcuts and pipelines.
- Connections for trusted workspace access can't be created from the Manage Gateways and connections experience.
- Existing connections that work for trusted workspace access can't be modified in the Manage Gateways and connections experience.
- Connections to firewall-enabled Storage accounts have the status Offline in Manage connections and gateways.
- Checking the status of a connection with workspace identity as the authentication method isn't supported.
Set up connections for trusted workspace access
Configure a workspace identity in the workspace where the connection will be used. For more information, see Workspace identity.
Grant the workspace identity, organizational account, or service principal access to the storage account. For more information, see Create a OneLake shortcut to storage account with trusted workspace access
Configure a resource instance rule. For more information, see Resource instance rule.
Follow steps from Set up your connection to create the connection.
Set up your connection for a pipeline
The following table contains a summary of the properties needed for a pipeline connection:
| Name | Description | Required | Property | Copy |
|---|---|---|---|---|
| Connection name | A name for your connection. | Yes | ✓ | |
| Connection type | Select a type for your connection. | Yes | ✓ | |
| Server | Enter the name of Azure Data Lake Storage Gen2 server, for example, https://contosoadlscdm.dfs.core.windows.net. |
Yes | ✓ | |
| Full path | Enter the full path of your Azure Data Lake Storage Gen2 container name. | Yes | ✓ | |
| Authentication | Go to Authentication. | Yes | Go to Authentication. | |
| Privacy Level | The privacy level that you want to apply. Allowed values are Organizational, Privacy, and Public. | Yes | ✓ |
For specific instructions to set up your connection in a pipeline, follow these steps:
From the page header in Data Integration service, select Settings
 > Manage connections and gateways
Select New at the top of the ribbon to add a new data source.

The New connection pane shows up on the left side of the page.

In the New connection pane, choose Cloud, and specify the following fields:

- Connection name: Specify a name for your connection.
- Connection type: Select a type for your connection.
- Server: Enter your Azure Data Lake Storage Gen2 server name. For example,
https://contosoadlscdm.dfs.core.windows.net. Specify your Azure Data Lake Storage Gen2 server name. Go to your Azure Data Lake Storage Gen2 account interface, browse to the Endpoints section, and get your Azure Data Lake Storage Gen2. - Full path: Enter the full path to your Azure Data Lake Storage Gen2 container name.
Under Authentication method, select your authentication from the drop-down list and complete the related configuration. The Azure Data Lake Storage Gen2 connector supports the following authentication types:

Optionally, set the privacy level that you want to apply. Allowed values are Organizational, Privacy, and Public. For more information, see privacy levels in the Power Query documentation.
Select Create. Your creation is successfully tested and saved if all the credentials are correct. If not correct, the creation fails with errors.


Set up your connection in any Fabric item
In any Fabric item, select the Azure Data Lake Storage Gen2 option in the Get Data selection, and then select Connect.

You can select the data source you created in the previous steps, or create a new connection by selecting Azure Data Lake Storage Gen2.
In Connect to data source, enter the URL to your Azure Data Lake Storage Gen2 account. Refer to Limitations to determine the URL to use.
Select whether you want to use the file system view or the Common Data Model folder view.
If needed, select the on-premises data gateway in Data gateway (only supported in Dataflow Gen1, Dataflow Gen2, and Semantic Models).
Select Sign in to sign into the Azure Data Lake Storage Gen2 account. You are redirected to your organization's sign-in page. Follow the prompts to sign in to the account.
After you've successfully signed in, select Next.
Authentication
The Azure Data Lake Storage Gen2 connector supports the following authentication types:
Key authentication
Account key: Specify your Azure Data Lake Storage Gen2 account key. Go to your Azure Data Lake Storage Gen2 account interface, browse to the Access key section, and get your account key.

Organizational account authentication

Open Edit credentials. The sign-in interface opens. Enter your account and password to sign in to your account. After signing in, you'll come back to the New connection page.
Grant the organizational account proper permission. For examples of how permission works in Azure Data Lake Storage Gen2, go to Access control lists on files and directories.
- As source, in Storage Explorer, grant at least Execute permission for all upstream folders and the file system, along with Read permission for the files to copy. Alternatively, in Access control (IAM), grant at least the Storage Blob Data Reader role.
- As destination, in Storage Explorer, grant at least Execute permission for all upstream folders and the file system, along with Write permission for the destination folder. Alternatively, in Access control (IAM), grant at least the Storage Blob Data Contributor role.
Shared access signature authentication

SAS token: Specify the shared access signature token for your Azure Data Lake Storage Gen2 container.
If you don’t have a SAS token, switch to Shared access signature in your Azure Data Lake Storage Gen2 account interface. Under Allowed resource types, select Container, and then select Generate SAS and connection string. You can get your SAS token from the generated content that appears. The shared access signature is a URI that encompasses in its query parameters all the information necessary for authenticated access to a storage resource. To access storage resources with the shared access signature, the client only needs to pass in the shared access signature to the appropriate constructor or method. For more information about shared access signatures, go to Shared access signatures: Understand the shared access signature model.
Service principal authentication

- Tenant Id: Specify the tenant information (domain name or tenant ID) under which your application resides. Retrieve it by hovering over the upper-right corner of the Azure portal.
- Service principal ID: Specify the application (client) ID.
- Service principal key: Specify your application's key.
To use service principal authentication, follow these steps:
Register an application entity in Microsoft Entra ID by following Register your application with a Microsoft Entra tenant. Make note of these values, which you use to define the connection:
- Tenant ID
- Application ID
- Application key
Grant the service principal proper permission. For examples of how permission works in Azure Data Lake Storage Gen2, go to Access control lists on files and directories.
- As source, in Storage Explorer, grant at least Execute permission for all upstream folders and the file system, along with Read permission for the files to copy. Alternatively, in Access control (IAM), grant at least the Storage Blob Data Reader role.
- As destination, in Storage Explorer, grant at least Execute permission for all upstream folders and the file system, along with Write permission for the destination folder. Alternatively, in Access control (IAM), grant at least the Storage Blob Data Contributor role.
Note
If you use a UI to author and the service principal isn't set with the "Storage Blob Data Reader/Contributor" role in IAM, when doing a test connection or browsing/navigating folders, choose Test connection to file path or Browse from specified path, and then specify a path with Read + Execute permission to continue.
Workspace identity authentication
Workspace identity: Select workspace identity from the authentication method dropdown. A Fabric workspace identity is an automatically managed service principal that can be associated with a Fabric workspace. Fabric workspaces with a workspace identity can securely read or write to Azure Data Lake Storage Gen2 accounts through OneLake shortcuts and pipelines. When selecting this option in the connector, make sure that the workspace has a workspace identity and that the identity has the ability to read or write to the intended Azure Data Lake Storage Gen2 account. For more information, see Workspace identity
Note
Connections with workspace identity has the status Offline in Manage connections and gateways. Checking the status of a connection with workspace identity isn't supported.