Note
Access to this page requires authorization. You can try signing in or changing directories.
Access to this page requires authorization. You can try changing directories.
This article outlines the steps to create an OData connection.
Supported authentication types
This OData connector supports the following authentication types for copy and Dataflow Gen2 respectively.
| Authentication type | Copy | Dataflow Gen2 |
|---|---|---|
| Anonymous | √ | √ |
| Basic | √ | √ |
| Organizational account | n/a | √ |
Set up your connection for Dataflow Gen2
You can connect Dataflow Gen2 in Microsoft Fabric to OData using Power Query connectors. Follow these steps to create your connection:
- Get data in Fabric.
- Check capabilities, limitations, and considerations to make sure your scenario is supported.
- Load data from an OData feed.
Capabilities
- Basic
- Advanced
- URL parts
- Open type columns
- Select related tables
Note
Microsoft Graph isn't supported. More information: Lack of Support for Microsoft Graph in Power Query
Get data
To get data in Data Factory:
On the left side of Data Factory, select Workspaces.
From your Data Factory workspace, select New > Dataflow Gen2 to create a new dataflow.
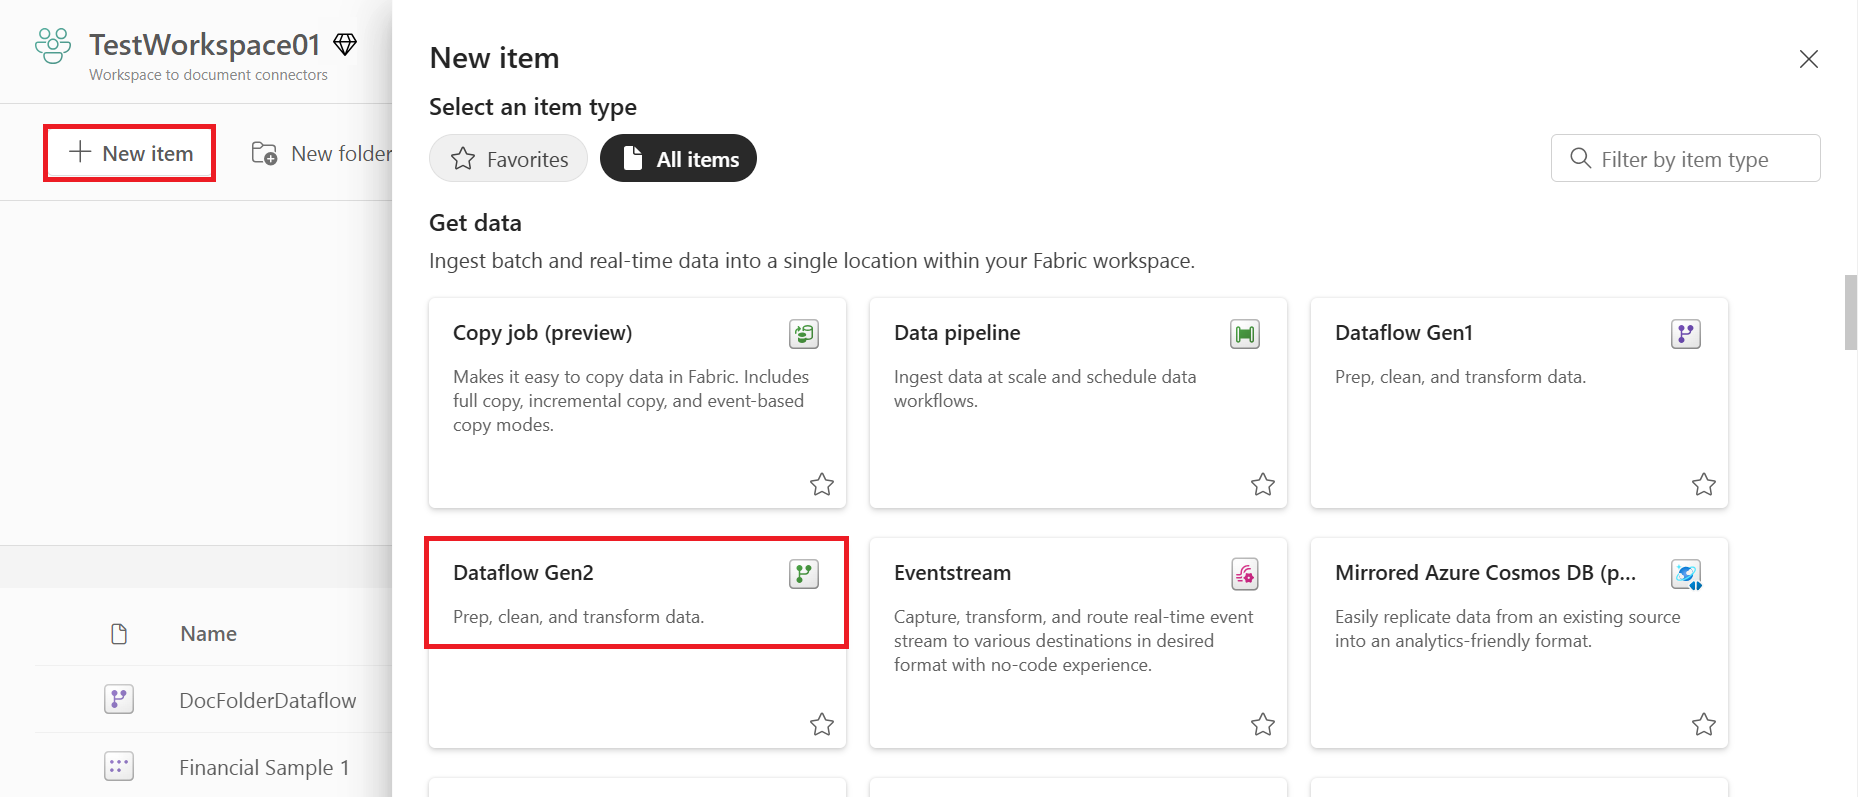
In Power Query, either select Get data in the ribbon or select Get data from another source in the current view.

In the Choose data source page, use Search to search for the name of the connector, or select View more on the right hand side the connector to see a list of all the connectors available in Power BI service.
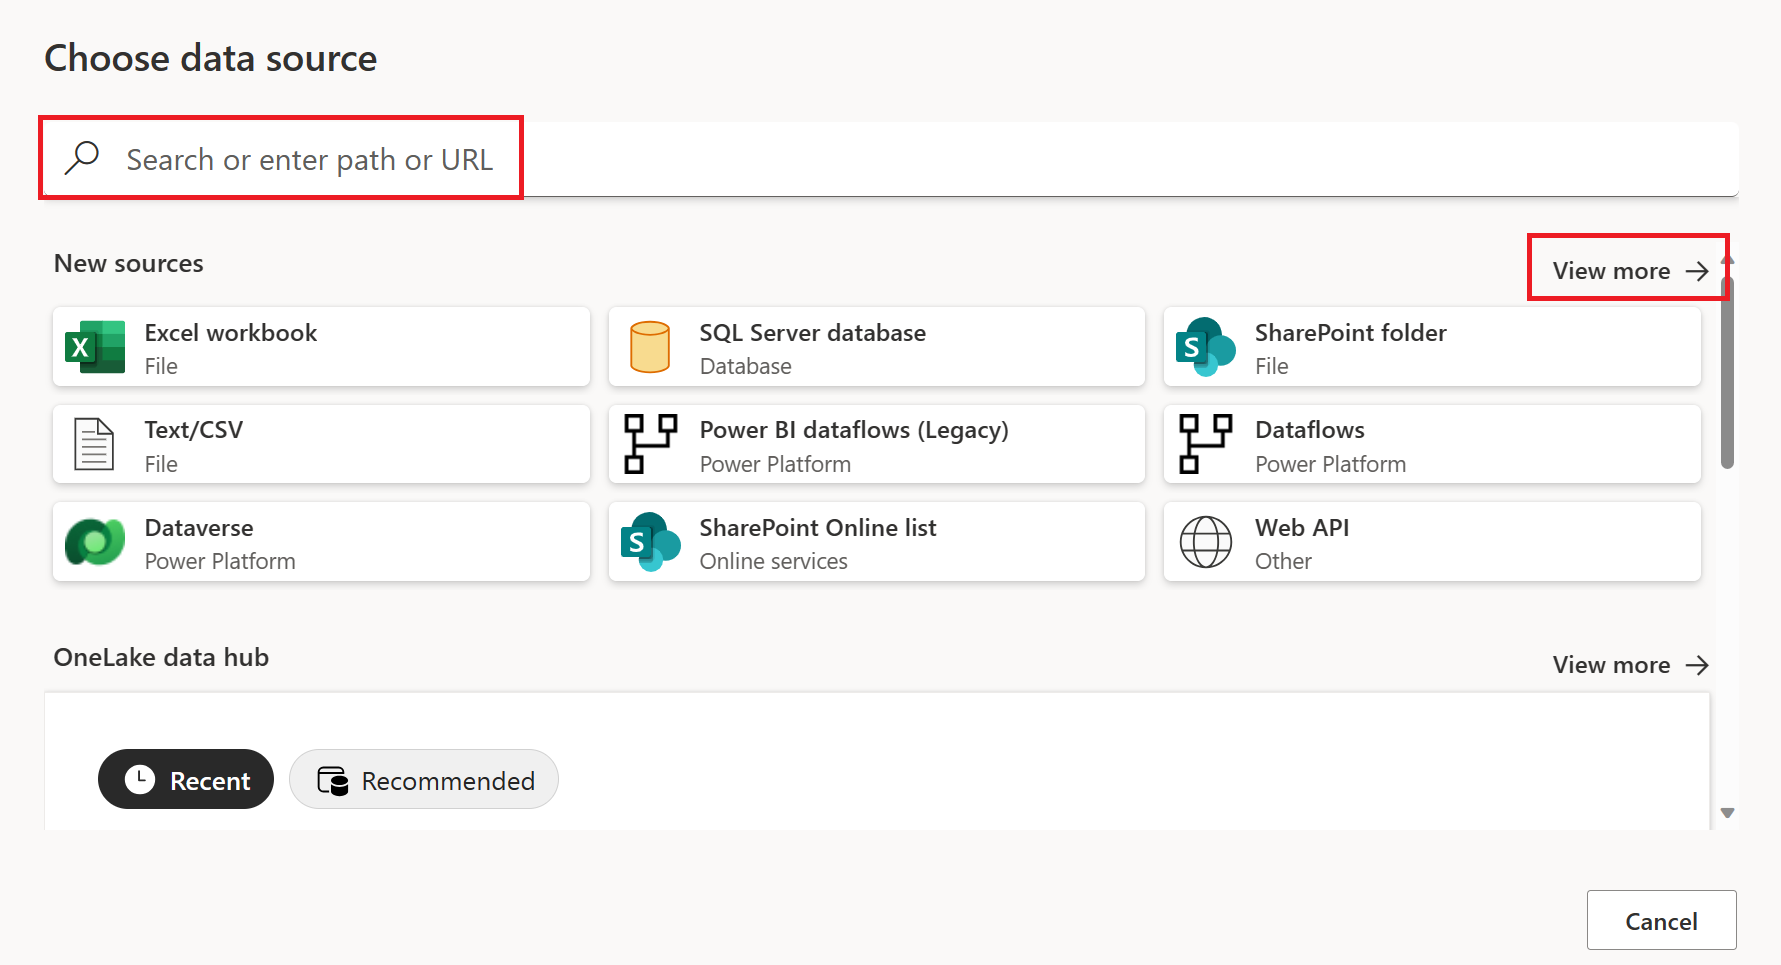
If you choose to view more connectors, you can still use Search to search for the name of the connector, or choose a category to see a list of connectors associated with that category.


Load data from an OData feed
To load data from an OData Feed in Power Query Online:
Select the OData or OData Feed option in the get data experience. Different apps have different ways of getting to the Power Query Online get data experience. For more information about how to get to the Power Query Online get data experience from your app, go to Where to get data.

In the OData dialog that appears, enter a URL in the text box.

If you're connecting using the OData Feed for the first time, select the authentication kind and enter your credentials (if necessary). Then select Next.
From the Navigator dialog, you can select a table, then transform the data in the Power Query editor by selecting Transform Data.

If you have multiple tables that have a direct relationship to one or more of the already selected tables, you can select the Select Related Tables button. When you do, all tables that have a direct relationship to one or more of the already selected tables are imported as well.

Limitations and considerations
Connections closed when joining with OData / Web sources
Due to the architecture of OData and other web connectors, joins can be slow. A slow join can sometimes cause the source to fail the connection, resulting in an error such as 'An existing connection was forcibly closed by the remote host.' While you have the option to use navigation columns when merging between tables from an OData source, you don't have this option when merging with non-OData sources. If you're seeing such issues when merging an OData or Web source, and are unable to use a navigation column instead, you should apply Table.Buffer to your query in the advanced editor before you merge the data.
We recommend buffering the smaller of the queries being merged to optimize the performance. You can also try switching the order of the queries in the join to optimize the query.
Test Connection issues
In cases where you're passing in a URL to the OData connector that's not just the service root (for example, if you have a filter on the URL), when you set up refresh in the service you should select Skip Test Connection.
When you enter credentials for an OData service into Power BI service (for example, after publishing a PBIX that uses OData.Feed), Power BI service tests the credentials but ignores any query options that were specified in the M query. These query options might have been specified directly in the formula (for example, using the formula bar or advanced editor), or might have been added by the Power Query editor by default. You can find the full list of these query options in OData.Feed.
Authenticating to arbitrary services
Some services support the ability for the OData connector to authenticate with OAuth/Microsoft Entra ID authentication out of the box. However, this ability doesn't work in most cases.
When attempting to authenticate, if the following error occurs:
We were unable to connect because this credential type isn’t supported for this resource. Please choose another credential type.

Contact the service owner. They either need to change the authentication configuration or build a custom connector.
Maximum URL length
If you're using the OData feed connector to connect to a SharePoint list, SharePoint online list, or Project Online, the maximum URL length for these connections is approximately 2,100 characters. Exceeding the character limit results in a 401 error. This maximum URL length is built in the SharePoint front end and can't be changed.
To get around this limitation, start with the root OData endpoint and then navigate and filter inside Power Query. Power Query filters this URL locally when the URL is too long for SharePoint to handle. For example, start with:
OData.Feed("https://contoso.sharepoint.com/teams/sales/_api/ProjectData")
instead of
OData.Feed("https://contoso.sharepoint.com/teams/sales/_api/ProjectData/Projects?select=_x0031_MetricName...etc...")
Set up your connection in a pipeline
To create a connection in a pipeline:
From the page header in the Data Factory service, select Settings
 > Manage connections and gateways.
Select New at the top of the ribbon to add a new data source.

The New connection pane shows up on the left side of the page.


Setup connection
Step 1: Specify the new connection name, type, and URL

In the New connection pane, choose Cloud, and specify the following fields:
- Connection name: Specify a name for your connection.
- Connection type: Select OData for your connection type.
- URL: Enter the root URL of the OData service.
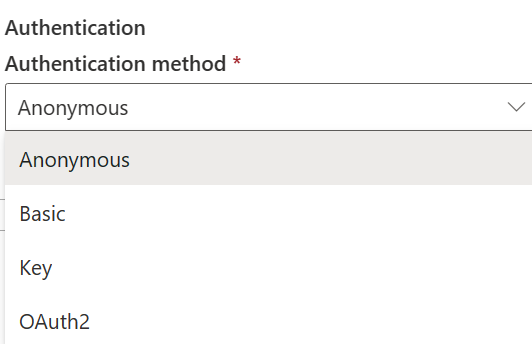
Step 2: Select and set your authentication
Under Authentication method, select your authentication from the drop-down list and complete the related configuration. This OData connector supports the following authentication types:
Anonymous authentication
Under Authentication method, select Anonymous.

Basic authentication
- Username: The user name to use to access the OData endpoint.
- Password: The password for the specified username.

Step 3: Specify the privacy level that you want to apply
In the General tab, select the privacy level that you want apply in the Privacy level drop-down list. Three privacy levels are supported. For more information, go to privacy levels.
Step 4: Create your connection
Select Create. Your creation is successfully tested and saved if all the credentials are correct. If not correct, the creation fails with errors.

Table summary
The connector properties in the following table are supported in a pipeline copy:
| Name | Description | Required | Property | Copy |
|---|---|---|---|---|
| Connection name | A name for your connection. | Yes | ✓ | |
| Connection type | Select OData for your connection type. | Yes | ✓ | |
| URL | The base URL to the OData server. | Yes | ✓ | |
| Authentication | Go to Authentication | Yes | Go to Authentication | |
| Privacy Level | The privacy level that you want to apply. Allowed values are Organizational, Privacy, Public | Yes | ✓ |
Authentication
The properties in the following table are the supported authentication type.
| Name | Description | Required | Property | Copy |
|---|---|---|---|---|
| Anonymous | ✓ | |||
| Basic | ✓ | |||
| - Username | The user name to use to access the OData endpoint. | Yes | ||
| - Password | The password for the specified username. | Yes |