Note
Access to this page requires authorization. You can try signing in or changing directories.
Access to this page requires authorization. You can try changing directories.
Note
Apache Airflow job is powered by Apache Airflow.
Currently, private networks and virtual networks aren't supported with Fabric Apache Airflow jobs.
In this tutorial, you build a directed acyclic graph (DAG) to run a Microsoft Fabric item including:
- Notebooks
- dbt Jobs
- Copy Jobs
- Spark job definitions
- Pipelines
- Semantic Model Refresh
- User data functions
Prerequisites
To get started, you must complete the following prerequisites:
In your Apache Airflow job, select the Settings gear button, select Environment configuration, and Enable triggers in data workflows to allow the use of deferrable operators.

In Fabric, select Settings, Admin portal, Tenant Settings, and enable service principals to call Fabric public APIs on your fabric tenant.

In Microsoft Entra ID, create a service principal. Save these values to use later for your Apache Airflow credential:
- Tenant ID
- Client ID
- Secret
Grant your service principal appropriate permissions:
- In Microsoft Entra ID, find your service principal under App registrations.
- Select Manage from the menu, then API permissions.
- Select Add a permission, then select Power BI Service
- Select Delegated permissions.
- Add Item.Read.All and Item.Execute.All. (Alternatively you can also add the read and execute permissions based on the item type, like Notebook.Read.All and Notebook.Execute.All.)
- Finally, add the service principal as a contributor in the workspace where the item you'll use Airflow to run is located.


Set up Apache Airflow connection
Apache Airflow connection is used to store the credentials required to authenticate with Microsoft Fabric APIs. You can set up your connections in two ways:
Fabric Apache Airflow job UI
On the Home bar, select Add connection.

A pop-up opens to help you set up your Apache airflow Fabric connection. Follow the instructions and add the following details:
- Connection ID: Name of the Connection ID.
- Description: Description of the connection
- Endpoint: Your Fabric API endpoint. Ex. "https://api.fabric.microsoft.com"
- Tenant ID: Your Tenant ID
- Client ID: Your application client ID assigned to your app.
- Client secret: Your app registration client secret.

Select Create once you have completed the connection. You can also create and manage the Microsoft Fabric connection directly in the Airflow UI. Will need to do that to periodically refresh your SPN secret. The instructions below will not work if you're using GIT sync – in that case, you'll need to edit your DAG manually.


Apache Airflow UI
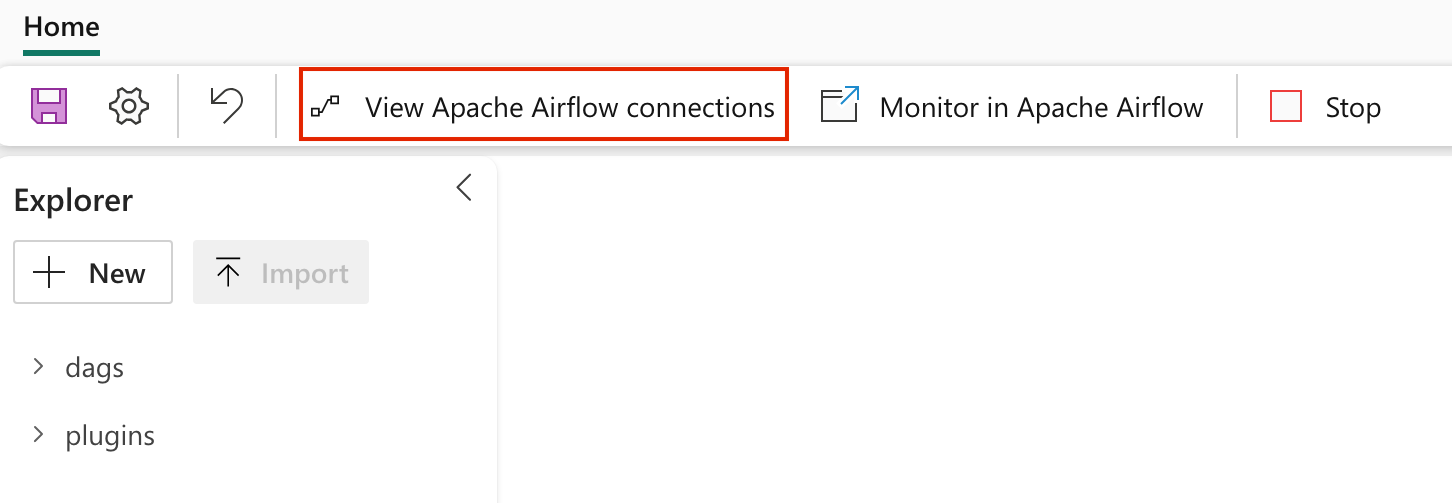
Navigate to View Airflow connections to add a new Apache Airflow connection.
Add a new connection and fill the following details:
Connection ID: Name of the Connection ID.
Connection Type: Generic
Sign in: The Application (client) ID assigned to your app.
Password: The refresh token fetched in previous step.
Extra: This field contains the following parameters:
- tenantId: (Required) The {tenant} value in the path of the request can be used to control who can sign into the application.
- clientSecret: (Optional, only required for web apps) The client secret of the app registration.
- scopes: (Required) Space separated string of scopes required for the app to access the Microsoft Fabric APIs.
Copy the following json object format, update the values, remove the comment, and paste it in the Extra field.
{
    "tenantId": "{tenant}",
    "scopes": "https://api.fabric.microsoft.com/Item.Execute.All https://api.fabric.microsoft.com/Item.Read.All offline_access",
    "clientSecret": "{client-secret}" // (Optional) NOTE: Only required for web apps.
}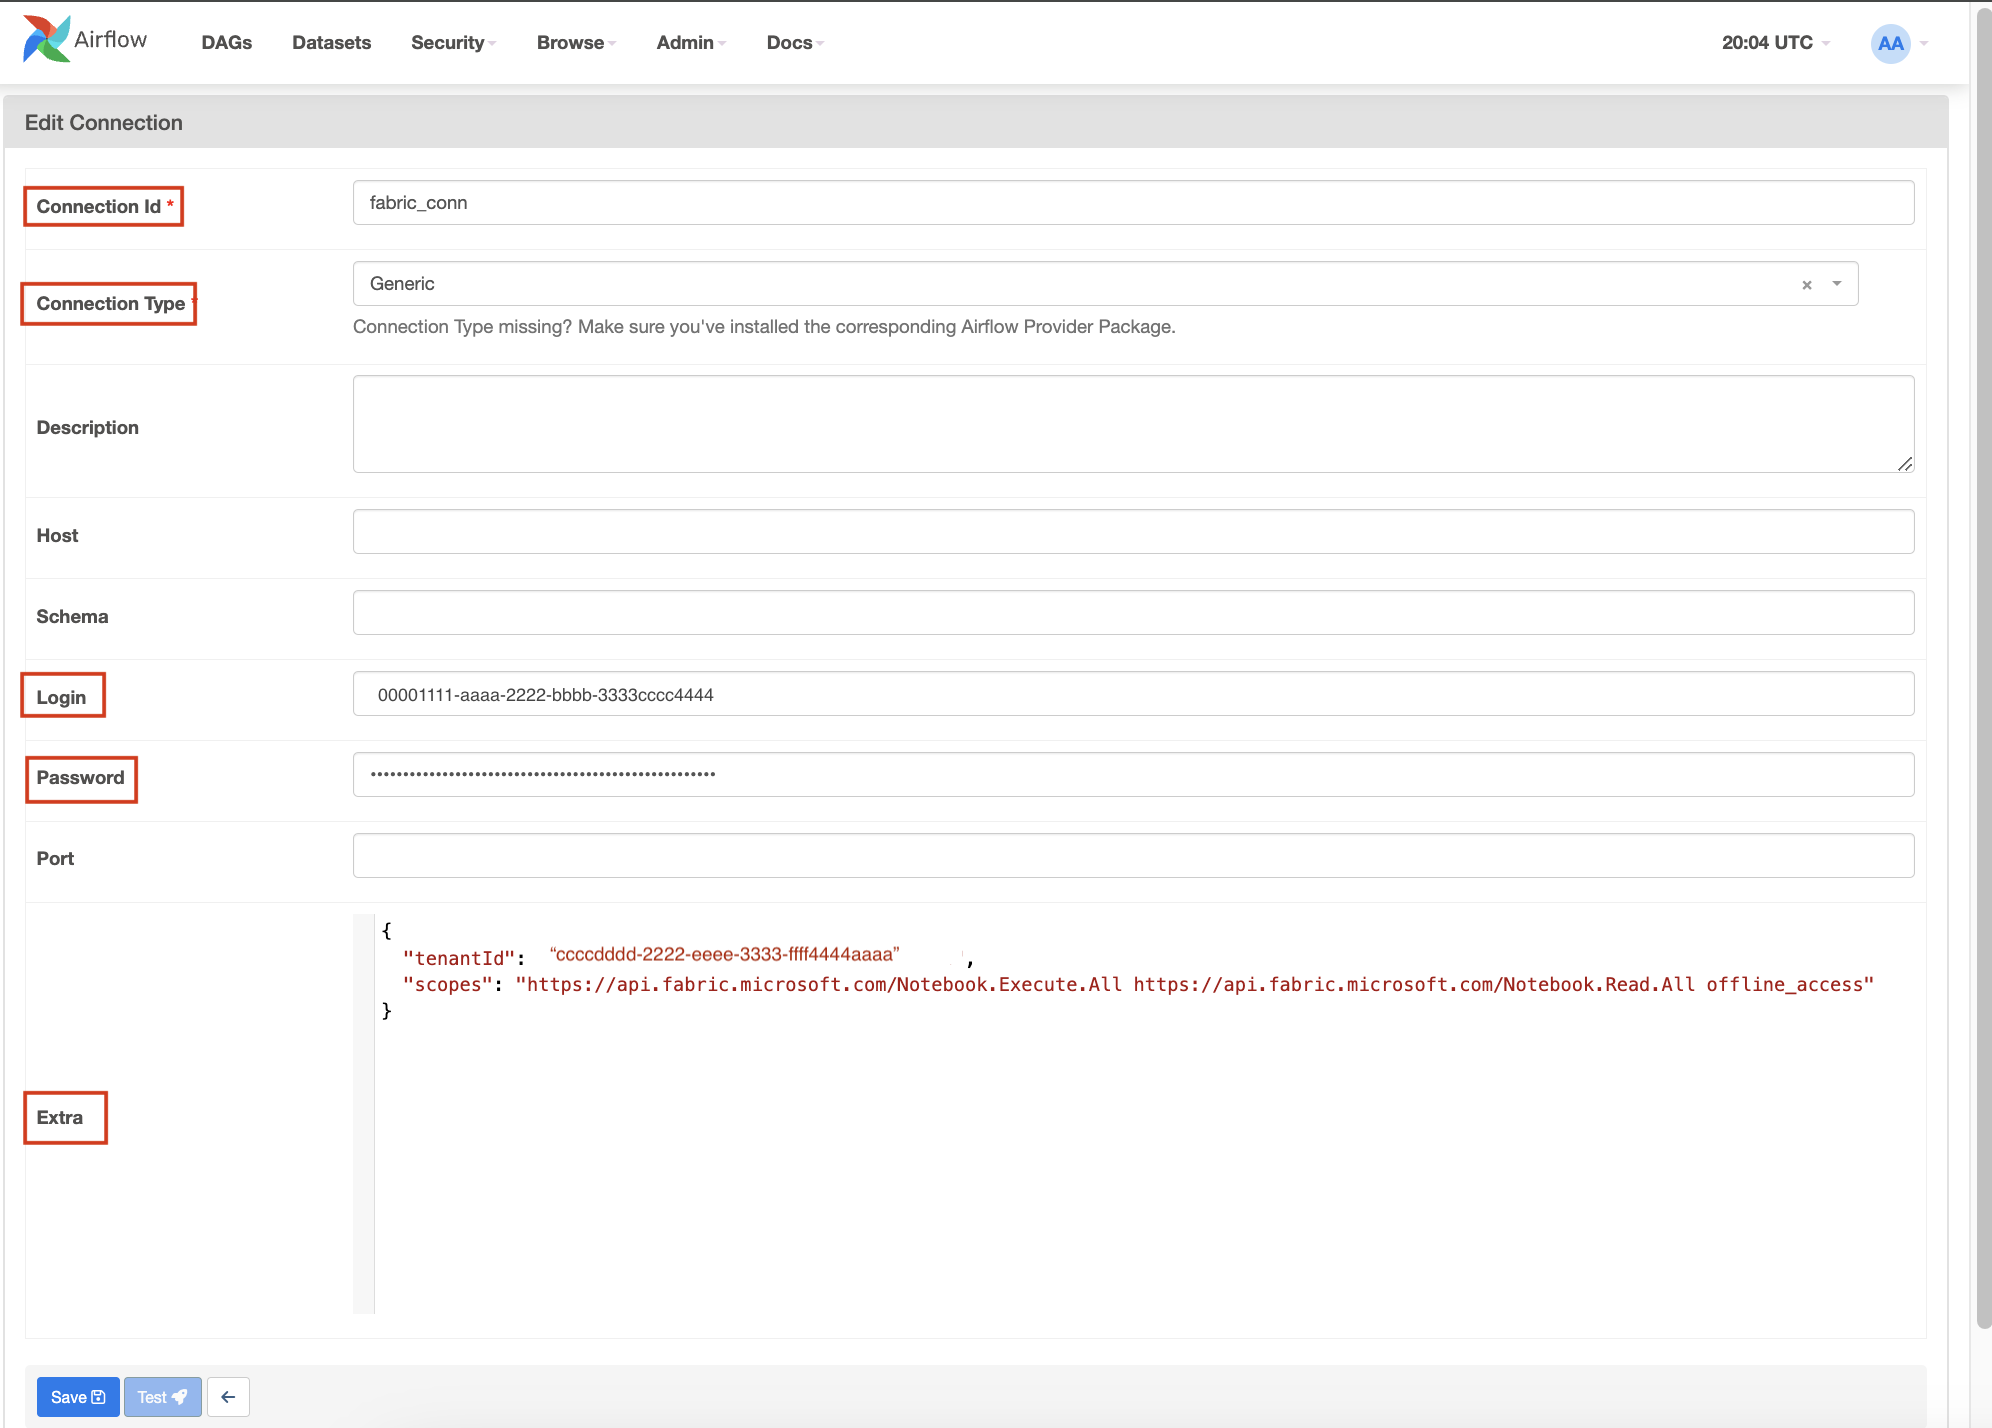
Select Save.


Create a DAG to trigger Microsoft Fabric item run
On your Apache Airflow job canvas, there are three tiles. Select Run Fabric artifact. This opens a new pop-up. (Accessible when no DAG is opened)


Select your Fabric connection using the drop-down list. If you haven't created a connection, select + to add a new Fabric connection.

Then, select your workspace using the drop-down list.

Choose which item type you want to run.

Then, select the item that you want to run.

Name your DAG and then configure your max timeout time and whether you want to enable Deferrable execution.

Select Create. This opens a new DAG in the editor for you to review and edit. Then, you can save your changes and run the DAG.


Create a new DAG file in the 'dags' folder in Fabric managed storage with the following code. Replace the following placeholders:
fabric_conn_id: The connection ID you created in the previous step.workspace_id: The workspace ID where the item is located.item_id: The item ID of the item you want to run. For example, a Notebook ID or a Pipeline ID.job_type: The type of item you want to run. For example, for notebook use "RunNotebook", for Spark Job Definitions use "sparkjob" and for pipelines use "Pipeline". This is case sensitive.wait_for_termination: If set to True, the operator waits for the item run to complete before proceeding to the next task.deferrable: If set to True, the operator can free up resources while waiting for the item run to complete.
from airflow import DAG
from datetime import datetime
from apache_airflow_microsoft_fabric_plugin.operators.fabric import FabricRunItemOperator

with DAG(
  dag_id="Run_Fabric_Item",
  schedule_interval="@daily",
  start_date=datetime(2023, 8, 7),
  catchup=False,
) as dag:

  run_fabric_item = FabricRunItemOperator(
    task_id="run_fabric_item",
    fabric_conn_id="fabric_conn",
    workspace_id="<workspace_id>",
    item_id="<item_id>",
    job_type="<job_type>",
    wait_for_termination=True,
    deferrable=True,
  )

  run_fabric_item
Monitor your DAG
In Apache Airflow Job UI
When you open your DAG file in Fabric Managed Storage, "Results" appears at the bottom. Select the arrow to view the results of the DAG run.


In Apache Airflow UI
Go to the Airflow UI and select the DAG you created.
If you add the plugin, you see an external monitoring link. Select on it to navigate to the item run.

Xcom Integration: Trigger the DAG to view task outputs in the Xcom tab.


Related Content
Quickstart: Create an Apache Airflow Job Apache Airflow Job workspace settings